Good morning one and all!!! Hope you are enjoying your weekend. Well for the next week I am so honored to be Co-Hosting a wonderful event with

DAY 1
Hop on over to her fabulous blog and find out all the details and the challenge she gave us!
The Weekend Wrap-Up will be back next Sunday and we will also have a winner of Thankful for my followers Thursday so not to worry! Hope you enjoy this week of Christmas Fun!
Here’s the list of fabulous bloggers that are joining in the fun! Check them out with a nice cup of something yummy! Please read all the way down…there is a quick and easy giveaway including on the second project!
Que Linda Crafts, The Cottage Market, Love Lindsey, Paper from the Heart, Domestic Mischief, Chicken Scratch, Love Sweet Love, Randee’s Organized Chaos, Musings of a Glamour Puss, Anastacia Knits, Southern Scraps,
Today we have a nice and easy Sunday afternoon project in
two versions! These are perfect for the kids…great stocking stuffers and I sure hope you have fun creating them and the little ones have tons of fun playing with them!
Memory Games…
First Project…
Penguin and friends!

Here are the supplies you will need…some paint…wooden squares…paint brush…glue and a sheet of digital images of your choice. (Remember you need 2 of every image you use for the game: ) Use anything that your child loves! There are tons and tons of options on Etsy but you can create your own…possibilities are limitless…

Run off your images (I use a card stock…it makes it much easier to cut and handle and adds to the durability)…now simply cut your squares.
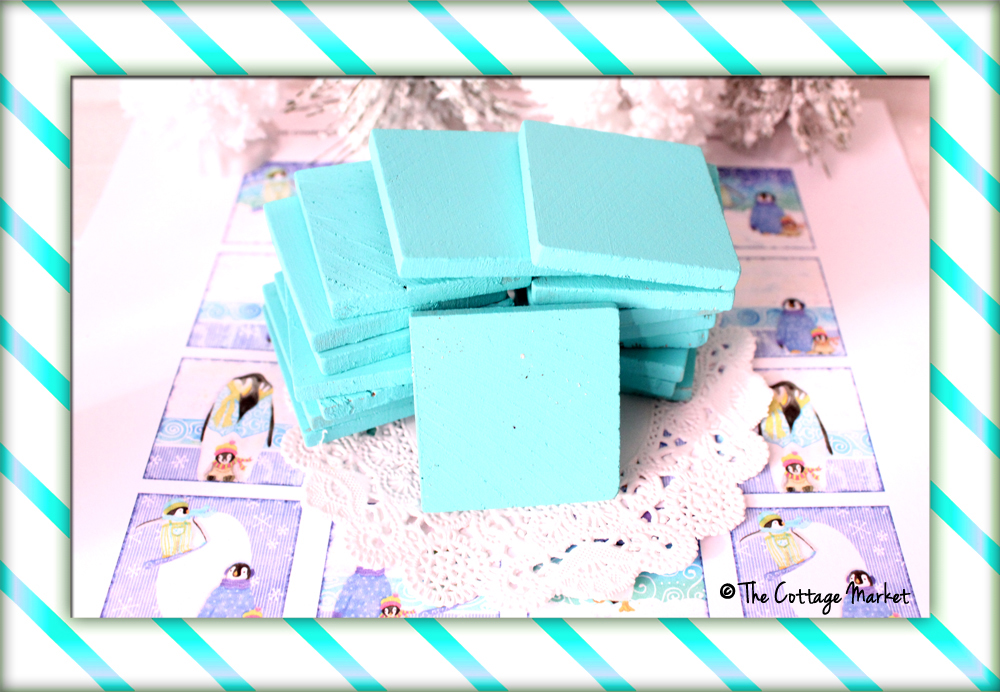
Paint your squares in the color of your choice and allow to dry completely or like me…you can hit them with the blow dryer because I get impatient : )
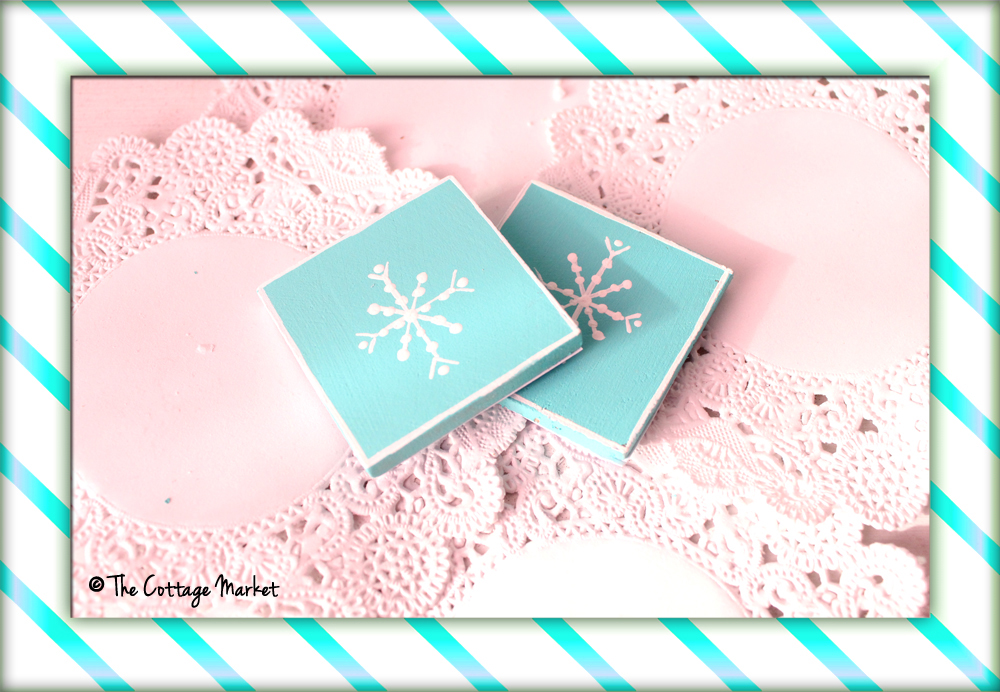
Now on the front of these I decided to paint a simple snowflake instead of leaving them blank…just adds to the fun! You can leaven them blank or you can use decorative paper instead of the paint…you can apply a sticker on the front…a digital image and the list goes on…it’s all about choices and the freedom of creating!

Now simply coat the front of your square with a nice even coat of glue…wait about 10 seconds and then apply your image and arrange it into the perfect place and then apply a little pressure with the flat of your hand. If there is any hang over of paper at all…you can sand it later when the square dries completely. You can also add a coat of modge podge to the front to protect the image…just remember if you apply multiple coats — allow to dry before adding : )
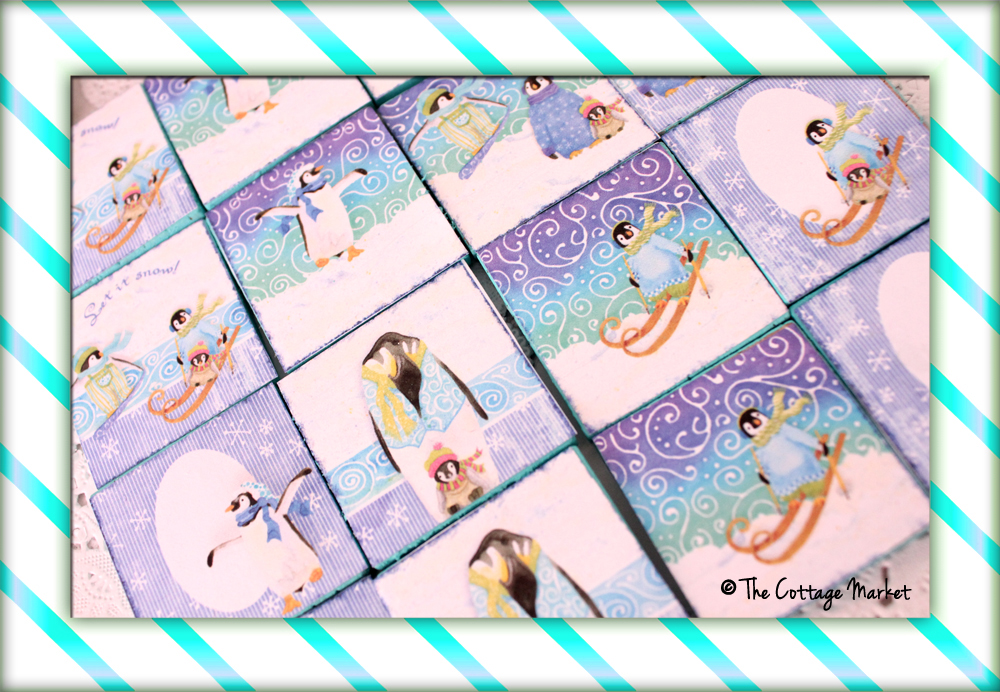
Here’s how they look all lined up and ready to be played with! Aren’t they cute!

For this set I used a tin…spray painted it white…added a pretty doily and an actual image square as the container…it’s very pretty and festive…if using for a boy…you can top it with a coordinating circle top and square and it will be picture perfect and easy to store!
you can also use the option in the next tutorial : )
How’s you Memory…Part 2

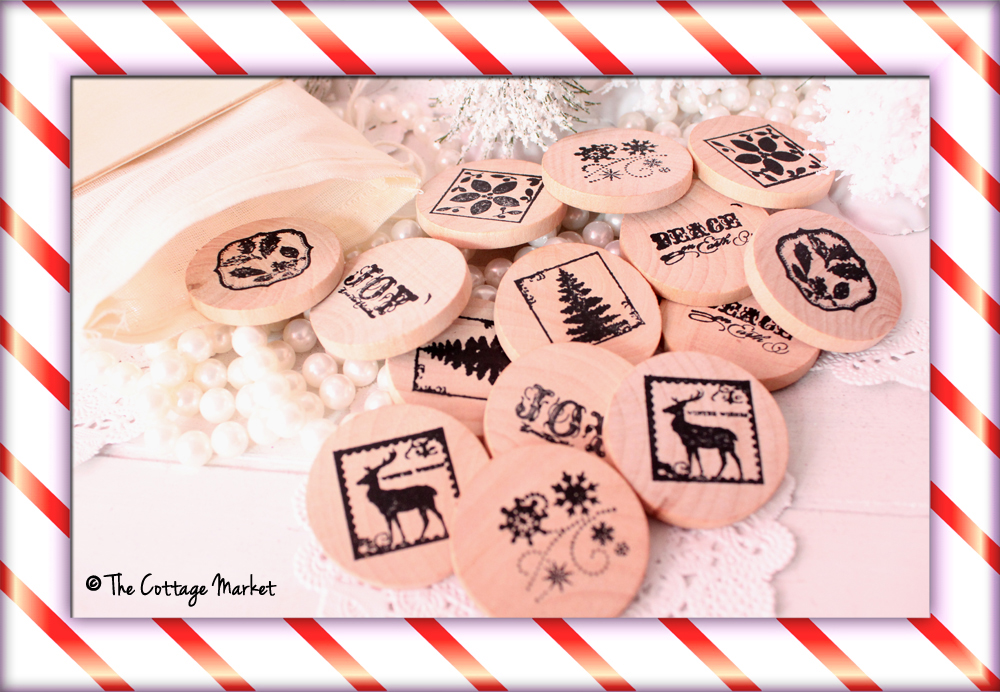
Here is what you will need…a StazOn ink pad (very important to use this brand of ink…it is permanent and won’t run) some wooden shapes…some fun Christmas stamps of of course stamps of your choosing…a muslin bag…a rectangle wooden piece for personalizing the carrying bag. You will also need some glue…a drill with a fine bit and a needle and thread.
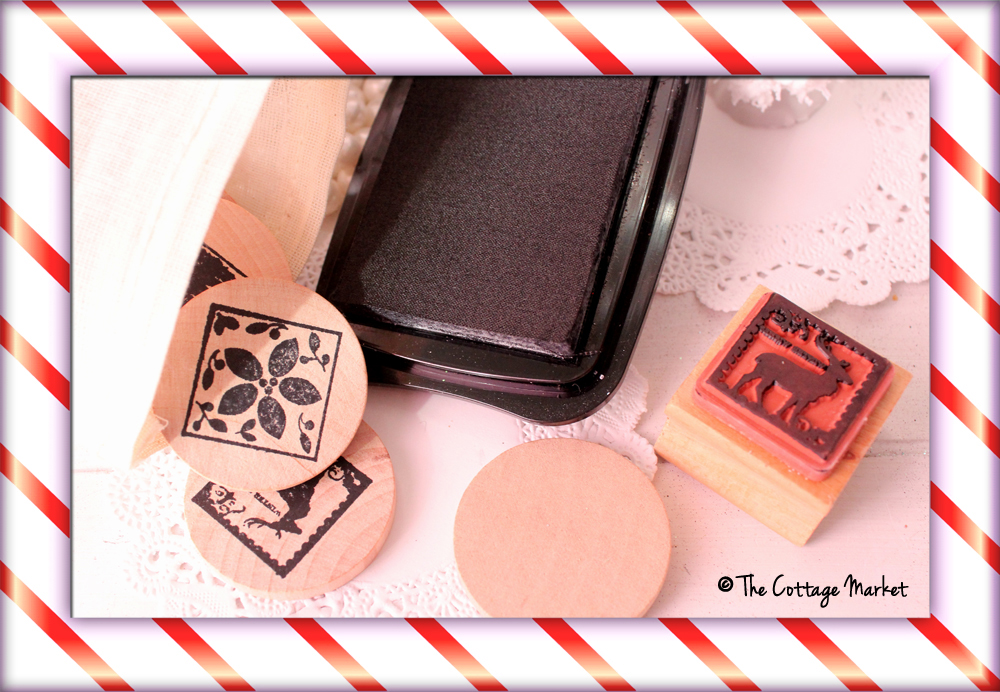
Simply ink you stamp…center it on the circle and depress with even pressure and stamp!…

Viola…done! Repeat Repeat Repeat Repeat…
Just remember you need two of everything : )

Now for the little carrying bag. I used a natural muslin bag to follow with the eco friendly theme using sustainable wood and simply took a wooden rectangle…drilled 2 small holes on both side and sewed it on to the bag…it is now ready to personalize! Why didn’t I personalize it? Well I am giving this set away to one of my readers…Just leave a comment on this post and a winner will be calculated by the random chooser and announced on Thursday morning! : ) Then you can supply me with the name…ez pz!


Hope you enjoyed this first post and I sure hope that I will see you tomorrow!
As always…know that you are appreciated and loved…till tomorrow…tons of
(((HUGS)))
tons of thanks to Diane over at The Girl Creative...you rock and thank you for giving me the opportunity to play along!


