This DIY Herb Drying Rack is perfect for the Cook, Gardener or anyone that just loves Herbs in their daily cooking and loves a pretty new wall hanging for the Kitchen.
I think you will really enjoy this little DIY. It was designed to be a DIY Herb Drying Rack but it can be so much more. It’s perfect as a Key Rack, Leash Rack, Scarf Holder, Jewelry Organizer, Apron Hanger … the sky is the limit It’s fun, easy to make, budget friendly and has a great Anthropologie Style. You are your own creator… pick weathered wood, drift wood, barn wood, new wood (that is what I used), live edge, whatever your heart desires. Now just think of the color and paint treatment possibilities, stains, pickling, decoupage … too many options to count. Then there are the knobs… you can go on a Thrift Store Hunt… a Flea Market Find or you can shop your favorite stores for them. Make yours as unique as you want to. I am gong to show you how I made mine and I sure hope it inspires you to CREATE!

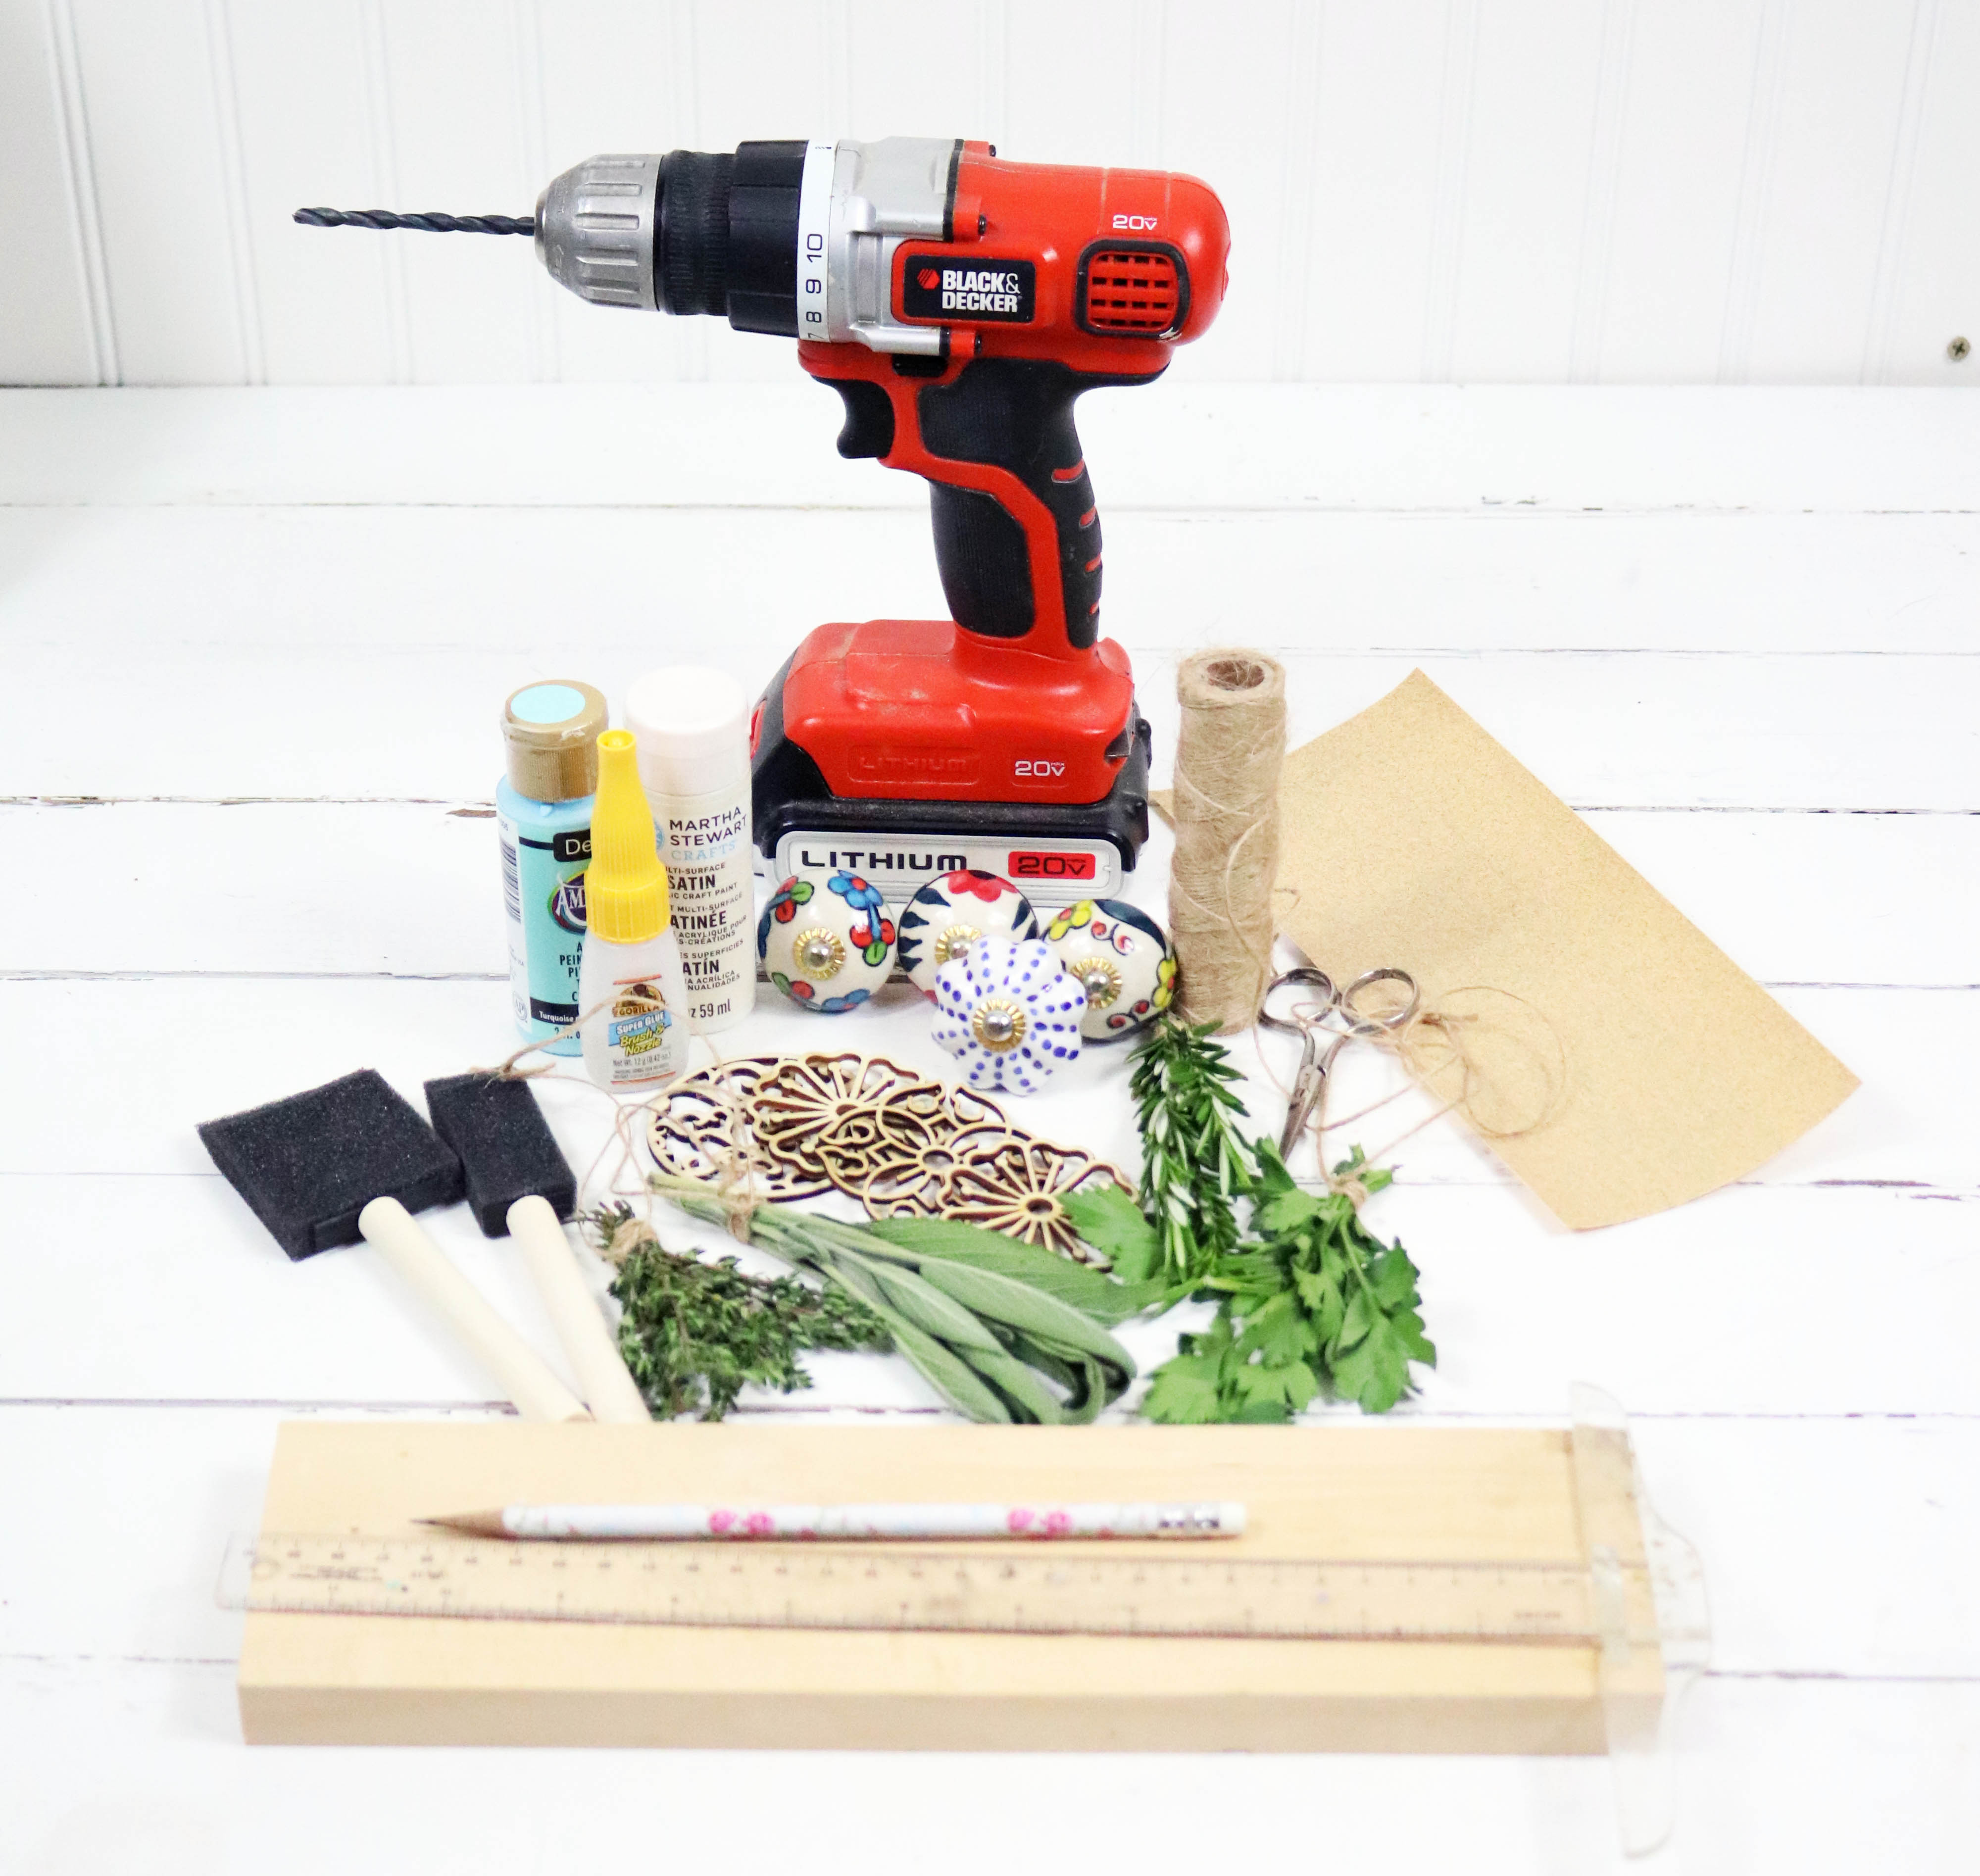
You are going to need:
A Drill (if you are using screw in knobs)
Twine
Wood
Paint
Sandpaper
Knobs
Brushes
Gorilla Glue
Embellishment Lattice (or not)
Scissors
Scissors
Choice of hangers: Eyelet, Sawtooth, Twine or…
Fresh Herbs or…
Let’s start with a 12 inch piece of 1 inch piece of pine (you can use anything that you love)… now give this wood a really good sanding.

Once you get the wood sanded to your liming measure out 4 sections and then make an X from point to point to find the center for your drill marks.

Time to drill the holes… I used bit size 13/64th’s and it worked perfectly.

Once you have the wood you are using all sanded and drilled… it’s time to give it a paint treatment of choice, stain or even decoupage.

If you choose to use an embellishment in back of your knobs… now is the time to paint them or stain them. You can find items like this in your local craft stores or even on Etsy. You could also use plain round circles that are sold everywhere and paint them in a complimentary color… paint a design on it… maybe polka dots… flowers or maybe even decoupage them… once again the sky is the limit

Gorilla Glue (or use whatever strong glue you have… even wood glue or Elmer’s) and apply strategically over the hole. If you have knobs that do not require drilling… you can use Gorilla Glue or any MAJOR Adhesive to apply them.

Now screw or glue your knobs on!

There are so many options… you can even use plain wood knobs that you find in the craft store for 2 for a dollar… treat them with whatever flair you want and just glue them on.

Maybe add some Crystal?

Hanging Options:
You can screw in an eyelet on each top end of the wood and string Jute though to form a hangers
Wrap up you little bundles of herbs and hang!
Use a Sawtooth Hanger… My knobs were a little long so i added a furring strip to the back for depth and screwed in two sawtooth hangers and it worked like a charm
It is totally your choice on your hanging method

So Pretty!

You can even hang more than one bundle on a knob!

Picture this with your favorite jewelry hanging on it!

Your Pups Leashes will look fabulous don’t you think! Or how about Aprons, Scarves, even Kitchen Accessories like Whisks, Wooden Spoons and more.

Don’t forget to check out our DIY Gallery
Stay Up to Date with The Cottage Market by Joining our Mailing List!
| Want to stay in the know? I’d really love that! (((HUGS))) |
| Like … on Facebook | Follow … on Pinterest | Follow … on Instagram | |
 |


