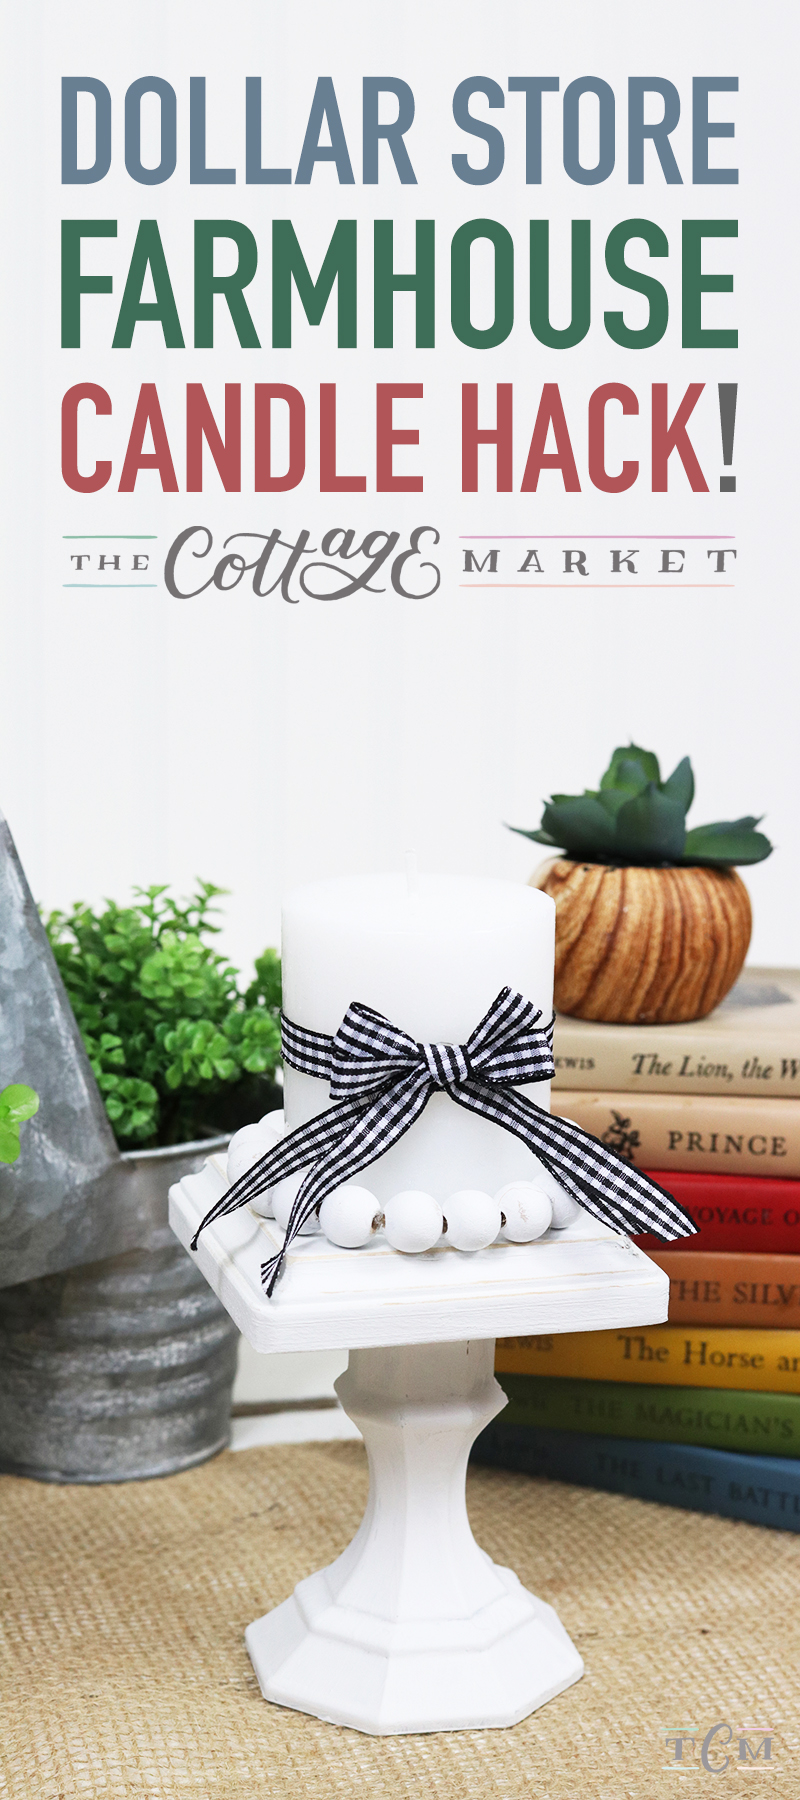
This Quick and Easy Dollar Store Farmhouse Candle Hack is the 4th DIY Farmhouse Dollar Store Hack in our new series! It’s amazing how quick… easy and budget friendly these creations can be.
Hi there Friends… how are you! We are so happy that you have been enjoying our new series of Dollar Store Farmhouse Hacks and I know you will enjoy this one. Candles are just part of the Farmhouse Decor World and no one seems to get enough of them. So… today’s Dollar Store Farmhouse Hack has a few elements that are super simple to make and it is great for any Season! If you want… you can change up the color and ribbon for certain Holidays or Occasions or to blend with your Home Decor. Come and see how simple it is to create.

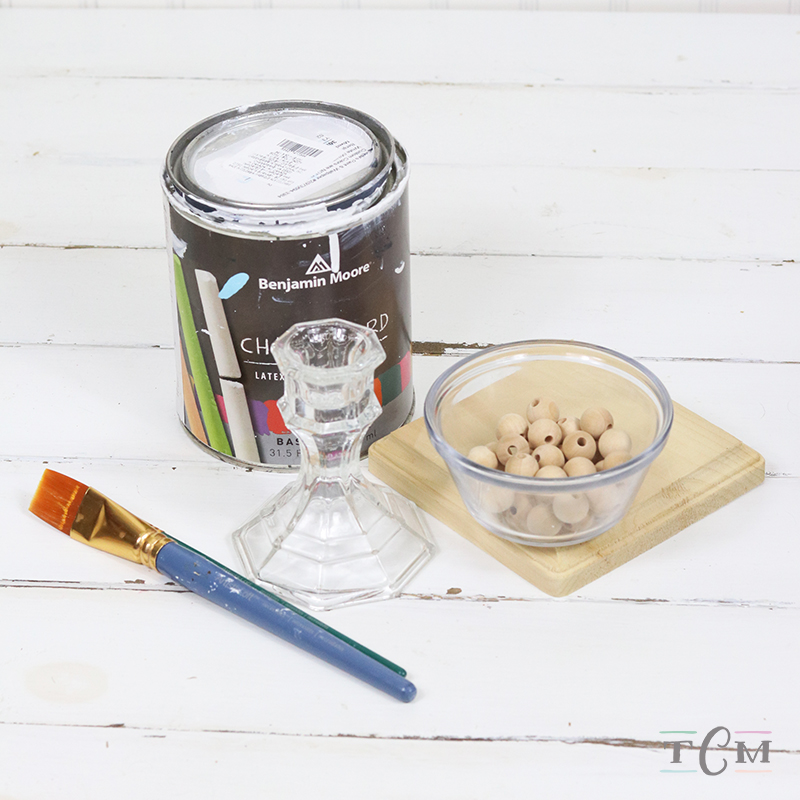
Let’s start with your Supplies: I use Chalkboard Paint but you can use your paint of choice… you can even use Spray Paint if you would like… a paint brush, glue gun, candlestick holder, twine, wooden piece, ribbon, wooden beads, candle and E-6000. (The wooden piece I got at Michaels for $.99 along with the glue which you can use for unlimited amounts of projects). The rest I got at The Dollar Store.

Now it is time to paint your beads… the wood piece and the candlestick holder. If you are using chalk paint… I used one coat on the beads… two coats on the wood and 3 coats on the candlestick. To make drying time super fast… I used the blow dryer trick once again.
Time to string your beads…
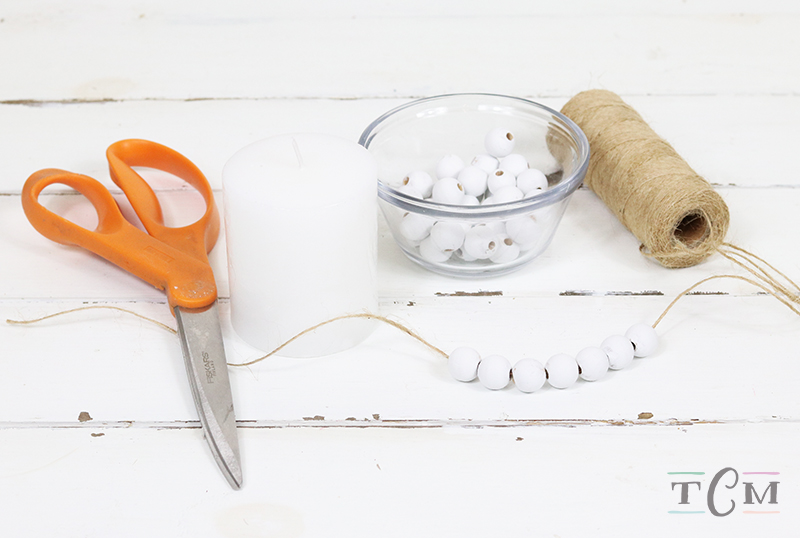
to get the perfect fit… string until you think you have the right size and then measure it around your candle… add or subtract beads as needed and then tie a tight double knot to secure the ring.

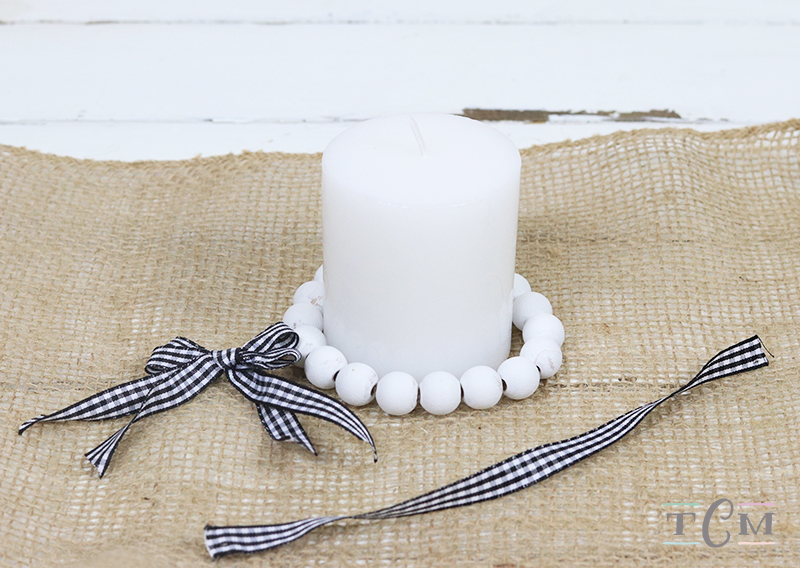
Pick the ribbon you love and measure a strand that will go completely around the center of the candle with a 1/4 inch over lay … then cut two longer strips and place them together… then tie a simple bow nice and tight. Then you can play with the bow till it looks perfect for you.
Time to put your base together. All you need to do is put a good amount of the glue around the top of the candlestick and then place the wooden piece on top and firmly press. Then allow it to dry for about 5 -6 hours and it is now complete.

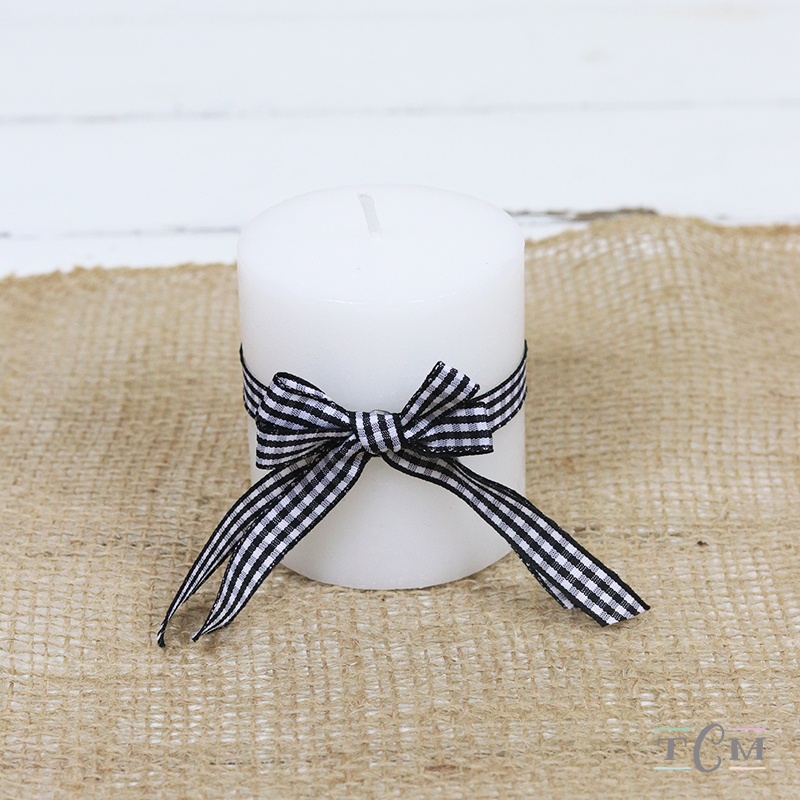
Attach the ribbon around your candle… you can use a short pin or hot glue. Then glue the bow over the space where the ribbon overlapped.
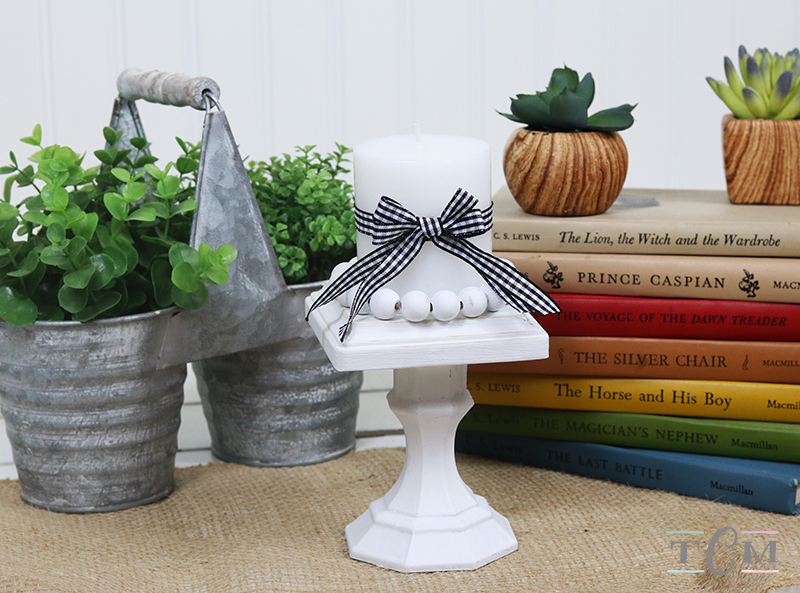
Time to put it all together. Place the beaded ring on top of the pedestal and then place the candle inside of it! VOILA… it’s done!

Hoe simple was that! You can have tons of fun making these in different colors… different paint treatments… different ribbons and so on and so on… put your special spin on it and I know you will love it.
May your candle always burn brightly!

Come and check out The Farmhouse Gallery for all kinds of DIYS and Inspiration!
Stay Up to Date with The Cottage Market by Joining our Mailing List!
| Want to stay in the know? I’d really love that! (((HUGS))) |
| Like … on Facebook | Follow … on Pinterest | Follow … on Instagram | |
 |

Leave a Reply