A very good morning to all of The Cottage Market Readers! I am so happy today to be able to introduce you to Jamie of anderson + grant! Jamie is a friend and she is an absolutely fabulous talent! Her blog is filled with amazing Farmhouse DIY Projects…Thrift Store Makeovers…Recipes and more! Now the real exciting part not only does The Cottage Market have a New Look (hope you are enjoying it) …Jamie is sharing one of her Thrift Store Makeovers with us right here today. So sit back…grab that cup of your favorite brew and enjoy this DIY…you are going to love the techniques that you will learn so you can apply them to your very own makeovers. So without further ado…here’s Jamie…

Hello Cottage Market readers! I could not be more excited to be able to share a project with you today. Andrea has become a very trusted friend and a wonderful supporter of my blog, anderson + grant. If you spend anytime at all reading her blog, I’m sure that you’ve seen some of my work. She is definitely my biggest cheerleader and supporter!
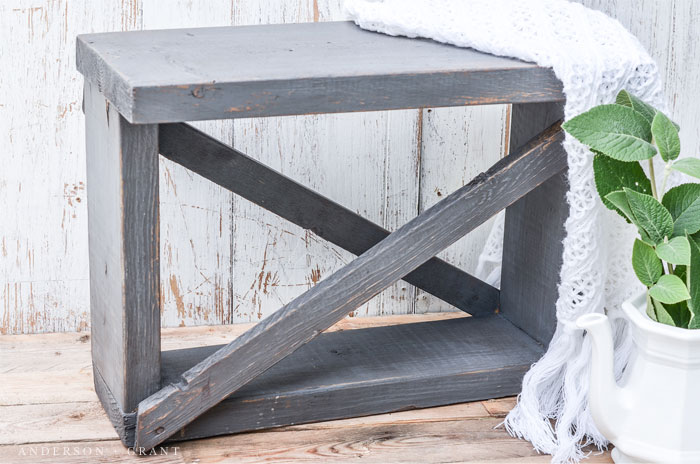
When I spotted this tiny bench recently at an antique sale, it had to come home with me. At just three dollars, the price was right. All it needed was a little love and paint. (Of course, I always seem to be able to justify buying another piece of furniture to makeover!)

What was really shocking was how heavy and well built the bench is. It is so simply constructed from what was probably scrap lumber, but that is what makes the little guy so charming. And the shape could be easily duplicated and even made larger.

I love finding things like this that were made likely out of necessity with whatever the maker had on hand. Maybe it was made because his wife needed a boost in the kitchen to get into the highest cupboards. Or maybe the bench gave his son a place to sit and watch his father building bigger and fancier furniture in a workshop. Creating a story behind the find you’re working on can give it more character and life.
So, onto my bench’s makeover….
The wood was in great rustic condition, so I just did a little gentle sanding to smooth everything.
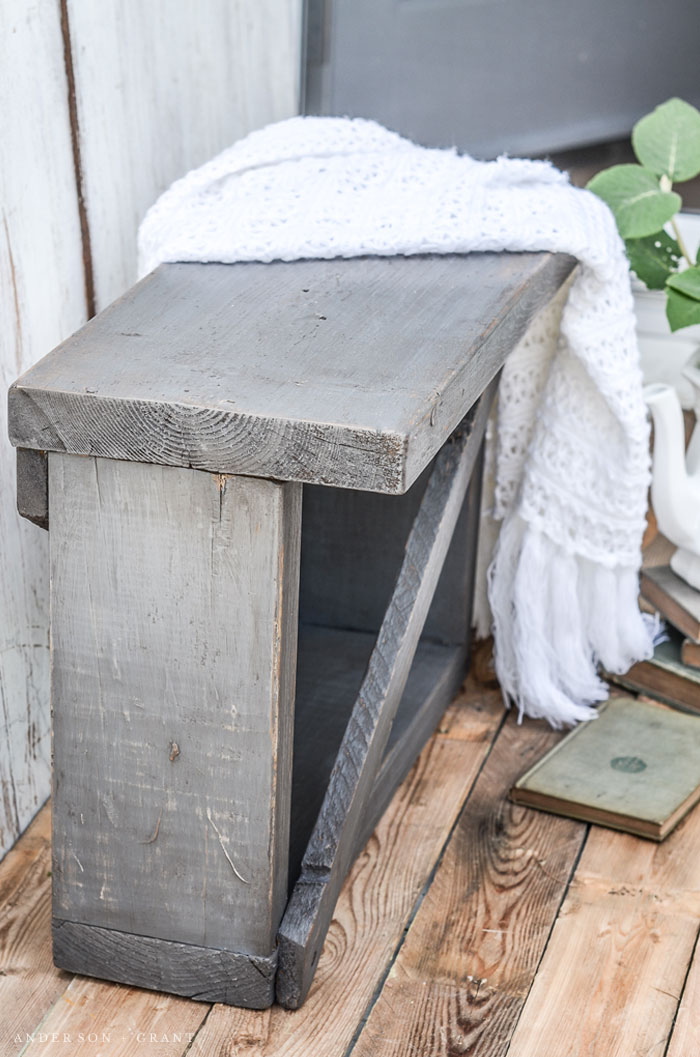
Then the bench got one haphazard coat of paint….I’m not too much into a perfect paint job when I’m going to distress it all anyway. This was my first time trying out the color Soapstone from Fusion Mineral Paint. It is the perfect blend of blue and gray which seems to be right up my alley at the moment. If you’ll notice the couple little drips of paint on the bottom of the before picture, you’ll see that obviously someone else had a very similar color a little to close to the bench at one point.
When the paint was just dry, I took some heavy grit sandpaper to the edges and topped everything off with Miss Mustard Seed’s antiquing wax. Fusion paint does not require a topcoat or wax layer, but I like how the antiquing wax ages a piece like this. It gets into all the cracks, crevices, and imperfections in the wood.
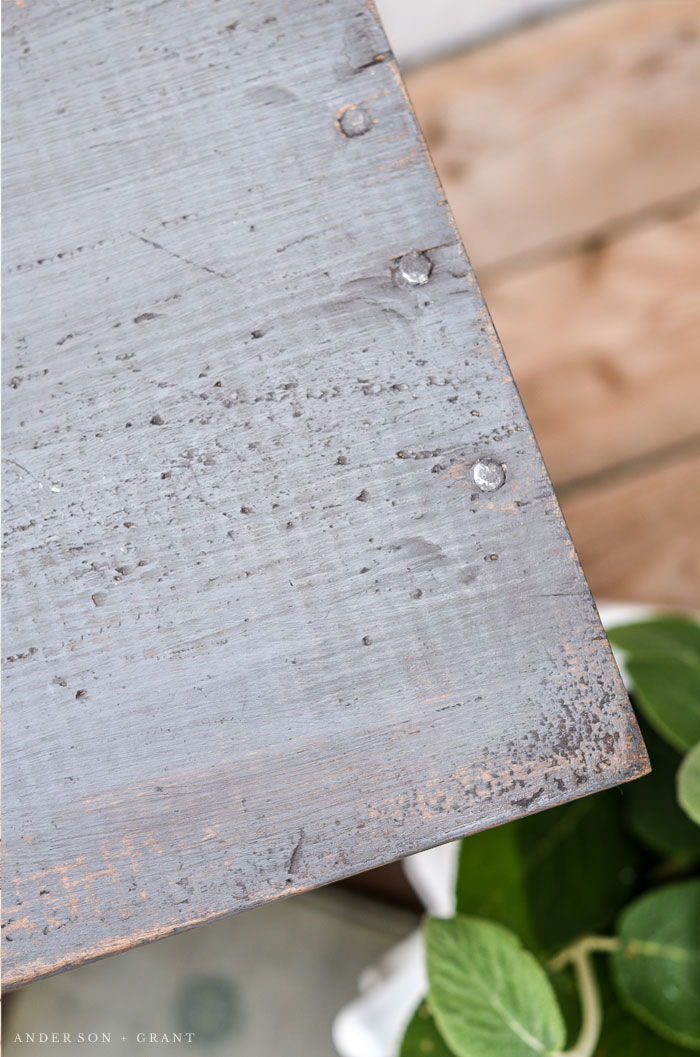
When the wax was dry, I took fine grit sandpaper and went over everything. While I’ve actually never done this before, that simple step really adds an extra bit of wear and age to what you’ve antiqued. Normally you’ll see that something that is old with patina will have places where the patina shows wear. The gentle sanded removed just enough of the wax setting on the top to make the whole finish look very natural.
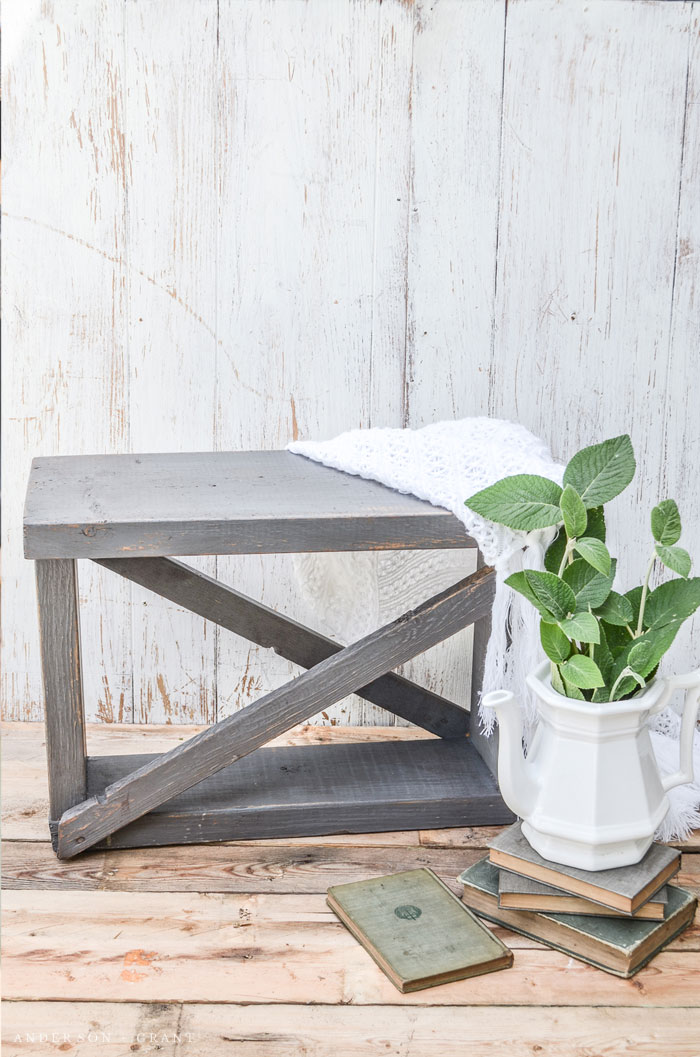
There is almost nothing that a little paint and effort can’t fix when it comes to furniture finds. And what is really exciting is that it doesn’t matter what your decorating style is, be it farmhouse, modern, industrial, French country, or a mix of all of the above. If you are willing to do the work, it is possible to have beautiful custom furniture and accessories for your home without spending a fortune.

Thank you so much for allowing me to share my newest farmhouse makeover with you today!
My blog is full of projects like this, in addition to everything you might need to know about decorating, organizing, and baking. The goal with what I post is to help you create a little more beauty in your home and life. You can also find me sharing on Pinterest, Instagram, and Facebook.
Be sure to drop by and visit Jamie! You will simply adore it over there! More GOOD NEWS…Jamie will be back in a few weeks with another fabulous Thrift Store Makeover!
(((((HUGS)))))

I always love to see what Jamie has done – she is so talented! Thank you for showcasing her little bench.
I like your new look too!
🙂
Cecilia
Thanks Cecilia! Your comment put a smile on my face.
Thanks for the incredible introduction and the opportunity to share with your readers my friend! Hope you have a fantastic week
I love your little stool and what you have done is wonderful.
Gosh, I love that bench and what you did with it. Now I NEED one!!! And like always, the staging you do is perfect! You make it sound so simple. Maybe I can even talk my husband in to making one for me to age this way. Thanks for the inspiration!!!
Love the bench makeover, Jamie! And I think you’re the queen of great thrift store deals! So glad to be introduced to Andrea’s blog as well… look forward reading more on here!! Have a great week, ladies!
That is such a pretty stool and I love the color Jamie has chosen. And that little secret is like icing on a cake. Perfect !
I’m always drawn in by your lovely photos, Jamie. Thanks for sharing!
I love thrift store finds like this bench and you’ve done such a lovely job with it. And your photography is beautiful. Thanks for sharing!
This is a great example of the powerful impact sanding can have on woodworking projects. Fabulous!