Save food and money with 5 old-fashioned kitchen tricks Grandma used to rescue bread, produce and pantry staples at home.
Hi Friends! You know that moment when you open the pantry or look in the fruit bowl and think… well, I guess that has to go?
WAIT!
Before you toss it into the garbage, take another look because sometimes food isn’t spoiled at all… it is simply past its picture perfect stage.
Our Moms and Grandmas were masters at this. They didn’t look at a wrinkly apple or a tortilla that had seen better days and automatically throw it away. They figured out what they could make with it… how they could bring it back to life… or how they could turn it into something completely different.
And with the price of groceries these days, I am more than happy to borrow a few tricks from their kitchens!

Today we have 5 foods you may be tempted to throw away and some wonderfully simple ways to save them instead. Some can actually be revived… others can be turned into something delicious… and every little bit we save is a little less money going into the garbage.
JOIN THE COTTAGE MARKET FAMILY
A Little Cottage Inspiration in Your Inbox
Join us for free printables, cozy decorating ideas, easy DIY projects, delicious recipes and plenty of happy inspiration!
One Important Thing Before We Start
We are talking about food that is stale, crystallized, wrinkled, soft or simply past its prime.
We are NOT talking about food that is rotten, moldy or clearly spoiled.
If something looks rotten, has mold, smells suspicious or simply makes you question whether it is safe… throw it away. Saving a few dollars is wonderful. Spending the evening regretting your life choices is not.
The FDA recommends discarding moldy or rotten foods and reminds us that safe storage still matters even when we’re trying to reduce food waste.
Crystallized Honey
Have you ever opened the cabinet, reached for your honey and discovered that your lovely golden liquid has turned into a grainy little science project?
Don’t throw it away!
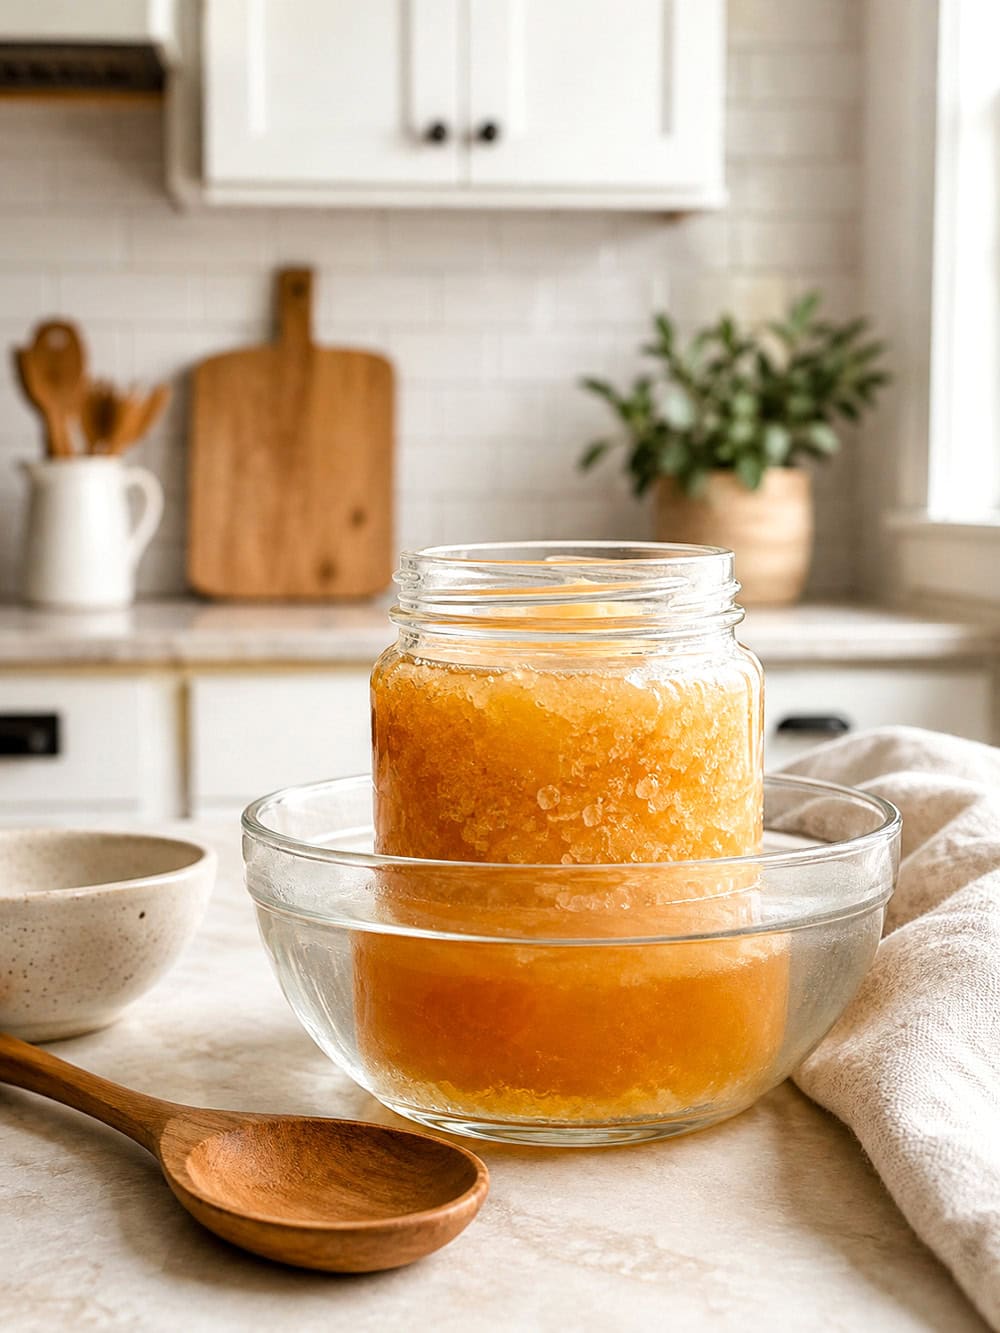
Crystallized honey has not necessarily spoiled.
Crystallization is a natural process that happens when some of the sugars in honey form crystals. Some types of honey crystallize faster than others, and raw honey can crystallize more readily.
The wonderful news is that you can usually bring it right back.
How To Save Crystallized Honey
Place the honey container in a bowl or pan of warm water.
Let it sit while the warmth slowly loosens the crystals. Stir the honey if you are able to, and replace the water with fresh warm water if necessary.
You are looking for gentle warmth here… not boiling water.
If your honey is in a container you would rather not warm, transfer what you need into a heat safe glass jar first.
The University of Arkansas Extension recommends warm water around 100°F and confirms that crystallized honey has not spoiled simply because crystals have formed.
And by the way…
You don’t even HAVE to liquefy crystallized honey.
You can scoop it onto toast… stir it into tea… mix it into oatmeal… or use it in cooking.
Nothing wrong with a little crunchy honey!
When To Toss It
Crystals alone aren’t the problem. But if your honey has obviously fermented, developed a strange odor or has been contaminated with moisture or something else… that’s another story.
When you’re unsure… don’t risk it.
Those Wrinkly Apples Nobody Wants
There is always ONE.
That poor apple sitting in the fruit bowl while everyone carefully reaches around it for the prettier apples.
Yesterday it looked perfectly respectable.
Today it looks like it has been paying taxes for 84 years.
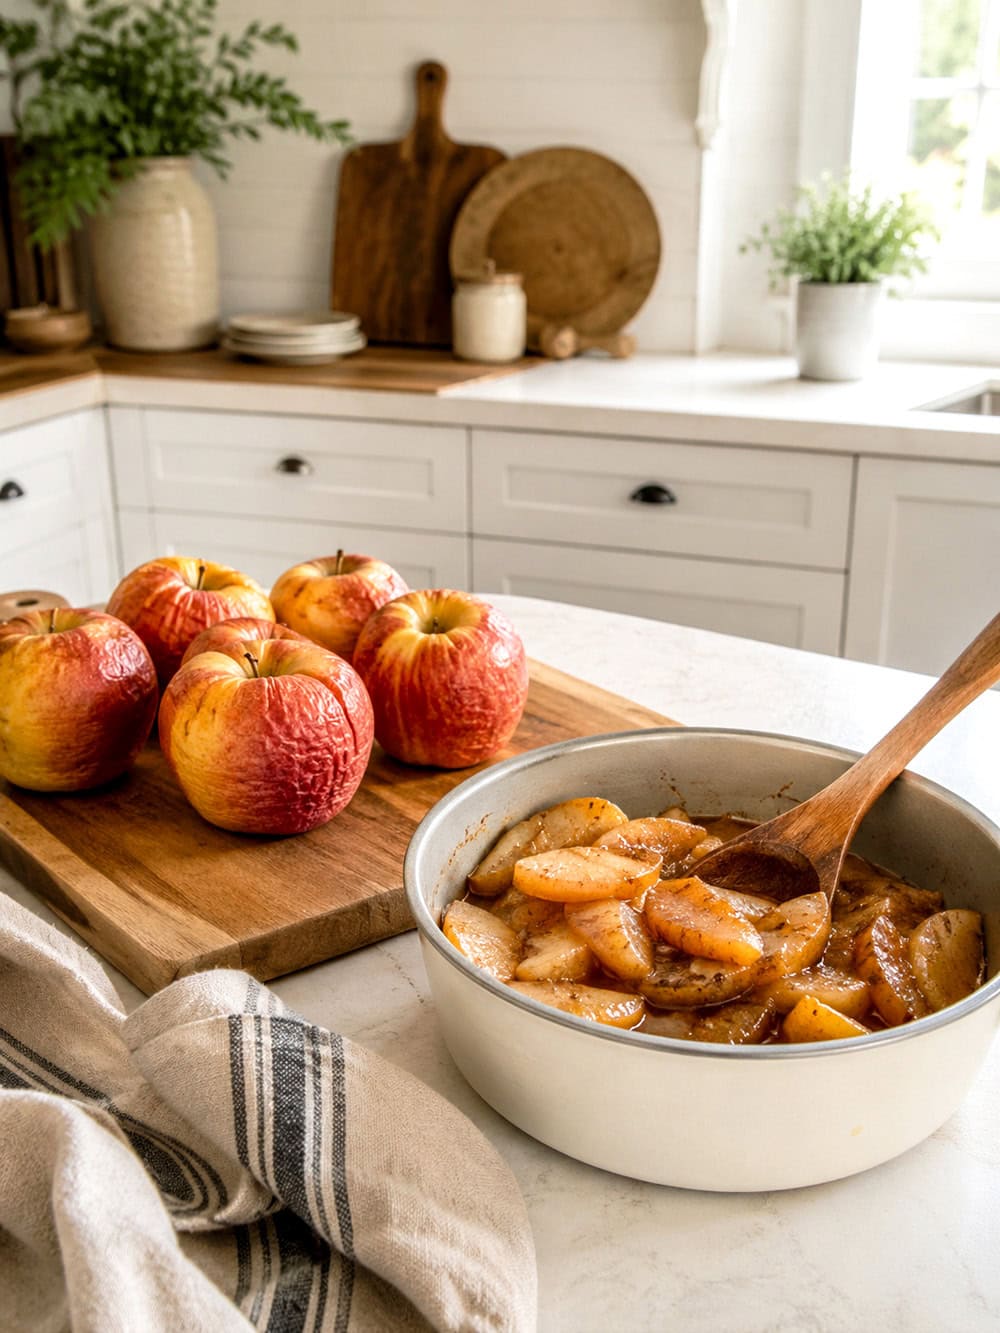
A slightly wrinkled or softer apple does not automatically belong in the garbage. It may not have the crisp texture you want for eating out of hand, but it can be wonderful for cooking.
Give Those Apples A Second Life
Peel them if you like… remove the core… cut away any bruised areas and turn them into:
- Quick cinnamon apples
- Homemade applesauce
- Apple oatmeal
- Pancake topping
- Muffins
- Apple bread
- A simple apple compote
- Baked apples
For the easiest little stovetop treat, cut your apples into chunks and place them in a small saucepan with a splash of water and a sprinkle of cinnamon.
Cook until tender.
You can add a little brown sugar, maple syrup or honey if you want them sweeter… but depending on the apples, you might not need much at all.
Spoon them over oatmeal, yogurt, pancakes or vanilla ice cream.
Suddenly that sad apple nobody wanted is looking pretty darn good.
The FDA specifically encourages using imperfect produce to help reduce food waste, while advising us to cut away damaged or bruised areas and discard produce that actually looks rotten.
When To Toss Them
Wrinkled is one thing.
Rotten is another.
If the apple has mold, extensive rot, an unpleasant smell or anything else that makes you suspicious… let that apple go.
It has served its country.
Dry Tortillas
Please tell me I am not the only person who has opened a package of tortillas and realized the last few are getting dry.
They aren’t moldy. They don’t smell strange.
They’re just not soft enough anymore to make the beautiful little wrap you had planned.
No problem. We’re changing the plan!
Turn Them Into Homemade Tortilla Chips
This may actually be my favorite rescue trick because the thing we thought had become too dry suddenly benefits from becoming even CRISPIER.
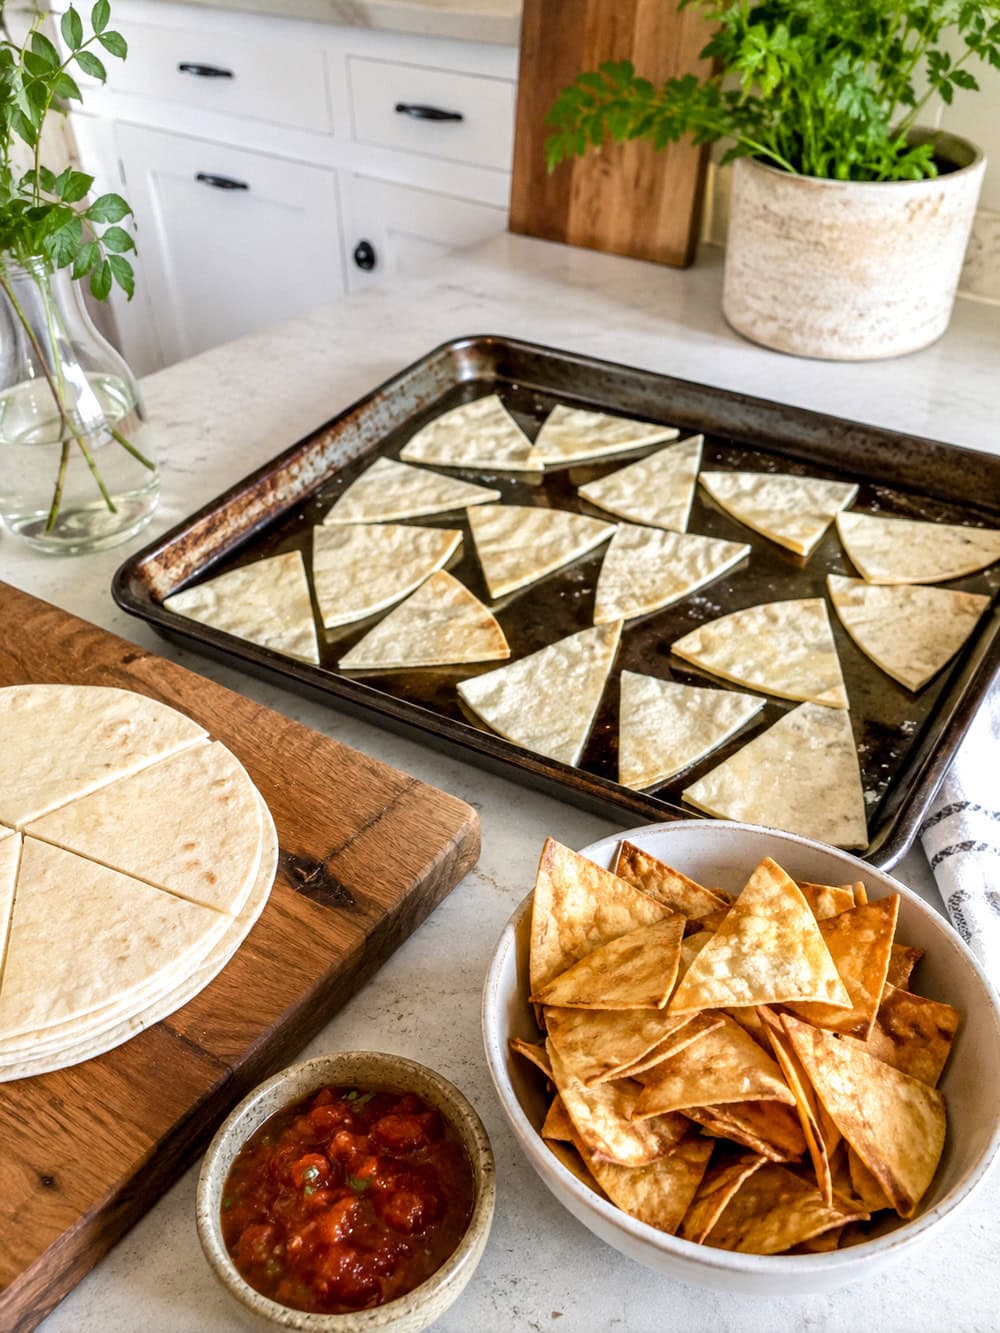
Preheat your oven to 400°F.
Cut the tortillas into wedges.
Place them on a baking sheet and give them a very light spray or brush of oil.
Add a little salt if desired.
Bake until crisp and lightly golden, checking them frequently so they don’t burn.
Iowa State University Extension uses this same basic method for homemade baked tortilla chips, baking tortilla wedges at 400°F until crisp.
Now grab the salsa!
You can also cut those tortillas into strips and bake them for:
- Taco salad toppings
- Tortilla soup
- Chili toppings
- Rice bowls
- Nachos
- Little crunchy snacks
You may start deliberately hiding tortillas from your family just so you can make chips later.
When To Toss Them
If you see mold, smell anything unusual or the tortillas have been stored improperly… don’t try to rescue them.
We’re rescuing dry tortillas, not conducting experiments.
Overripe Peaches And Pears
Ohhhh… peaches.
They give you approximately fourteen minutes between not ripe enough and somebody get a mop.
Pears aren’t much more cooperative.
But when either one becomes very soft without actually being spoiled, that is when I stop thinking about eating it whole and start thinking…
COMPOTE!
I don’t have time for that you might say lol…
It’s really just delicious soft fruit cooked down into something you can spoon over practically everything. Yum!
Make A Quick Fruit Compote
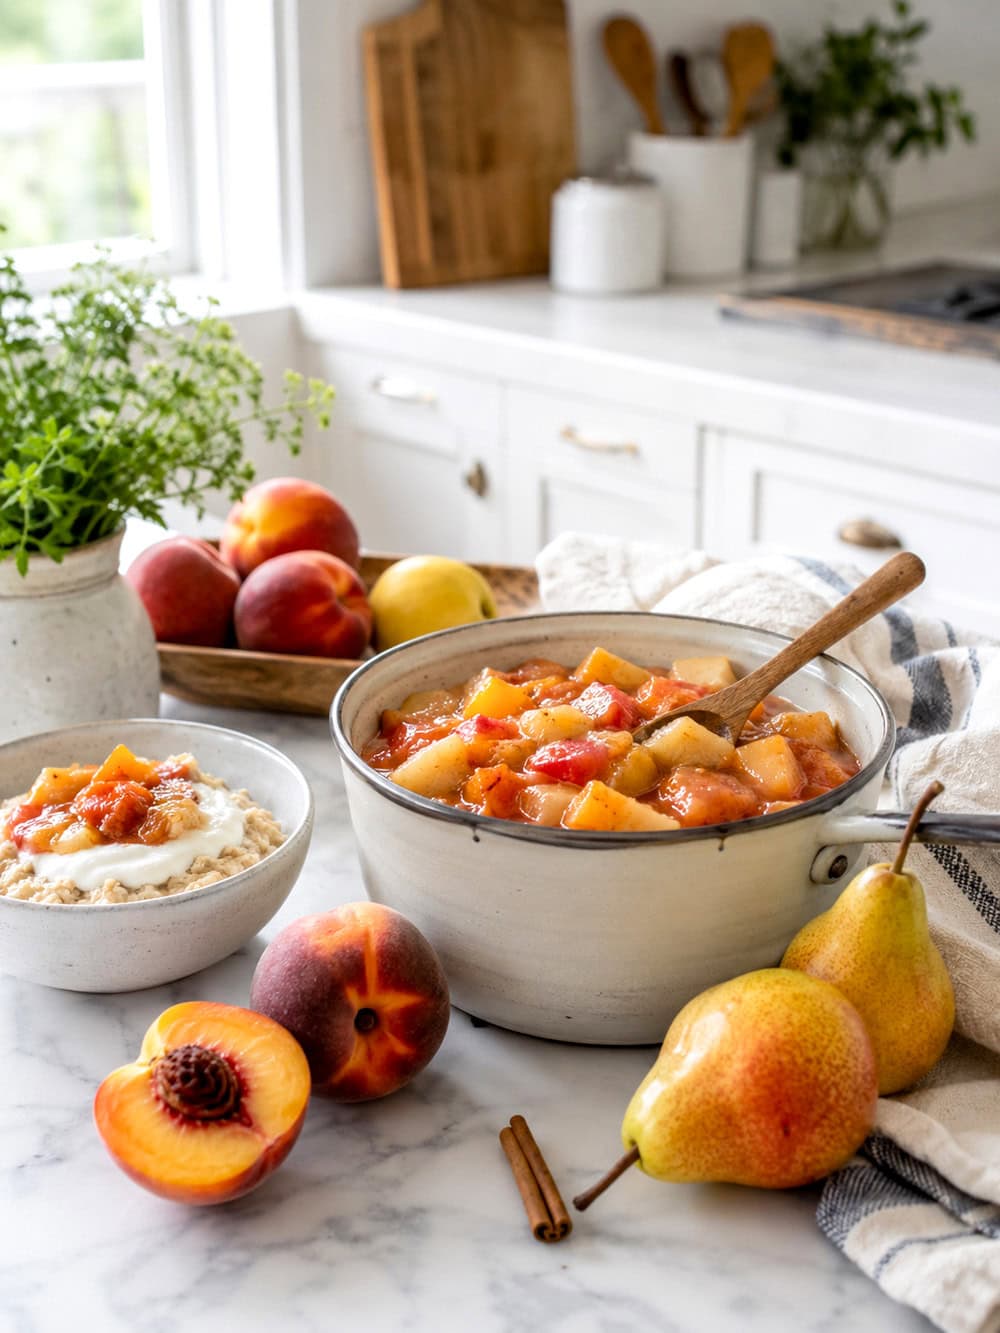
Cut your soft peaches or pears into pieces. Remove the pits or cores.
Place the fruit in a small saucepan with a tiny splash of water. Add cinnamon if you’d like.
Cook gently until the fruit becomes soft and saucy. Taste before adding sugar because very ripe fruit can already be wonderfully sweet.
If it needs something extra, add a touch of maple syrup, brown sugar or honey.
Now spoon it over:
- Pancakes
- Waffles
- Oatmeal
- Yogurt
- Ice cream
- Pound cake
- French toast
You can even swirl it into overnight oats.
And suddenly those two peaches you were about to throw away have become tomorrow morning’s breakfast.
Another Easy Idea
Freeze soft fruit before it goes too far.
Cut it into pieces… freeze the pieces on a tray… then transfer them to a freezer container.
They’ll be waiting for smoothies, sauces and cooked fruit later.
The FDA specifically recommends using freezing as a tool to keep foods from going bad and suggests finding creative ways to use produce that needs to be eaten soon.
When To Toss It
Soft and ripe is fine.
Rotten, moldy, leaking suspiciously or smelling fermented is not.
Fresh produce that looks rotten should be discarded.
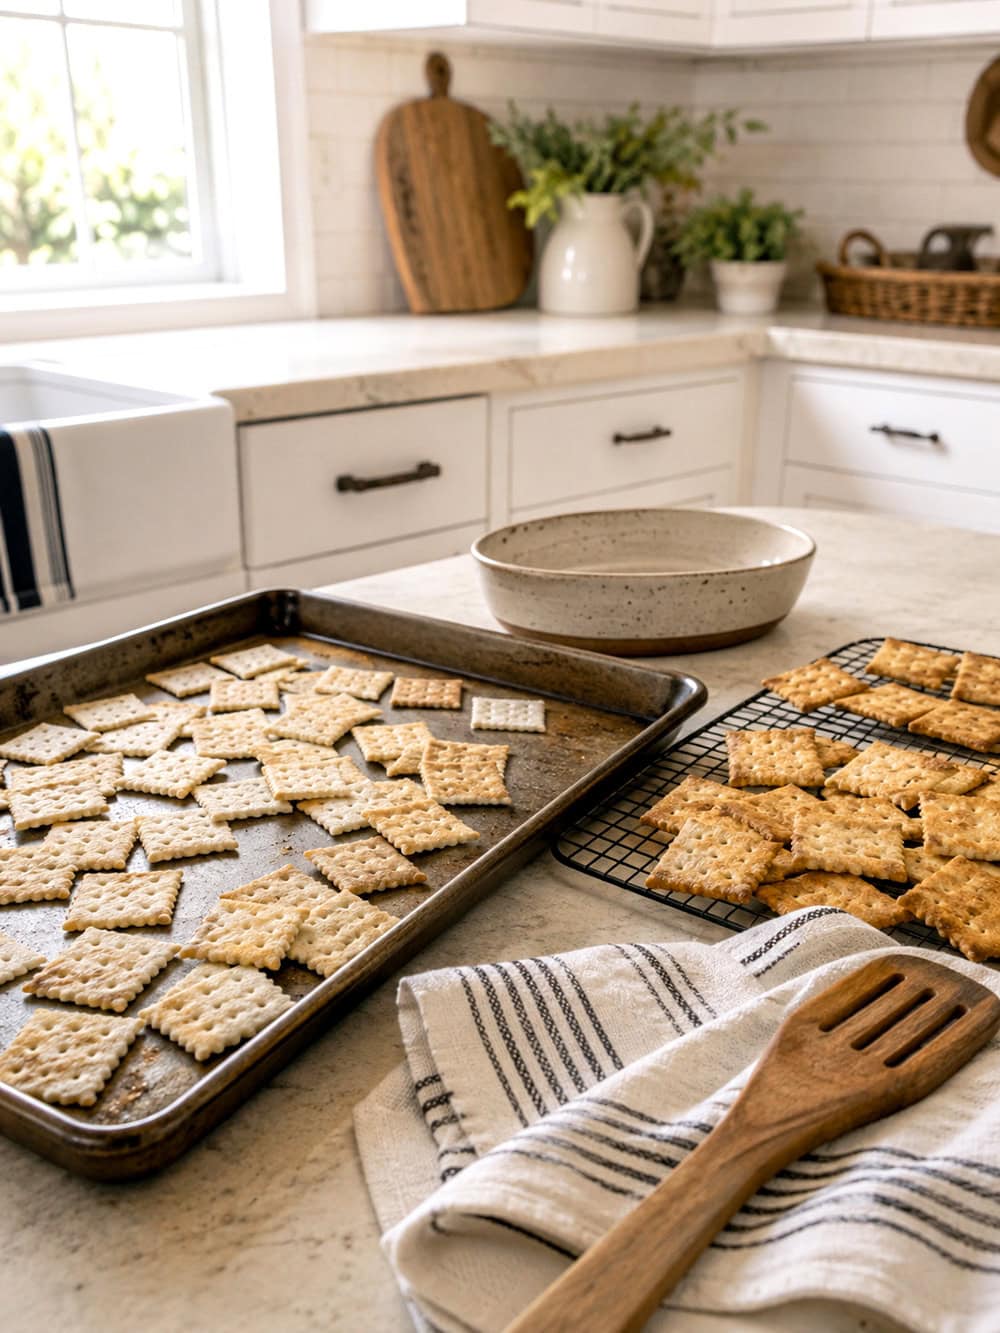
Stale Crackers
Now THIS one surprised me.
You open the sleeve… Take a bite…
And instead of that beautiful CRUNCH, you get… meh.
The crackers aren’t spoiled.
They’ve simply absorbed moisture from the air and lost their crispness.
Before you throw them away, try giving them a little oven time.
How To Make Stale Crackers Crispy Again
Spread the stale crackers in a single layer on a baking sheet.
Place them in a 425°F oven for just a few minutes.
Keep a close eye on them because we are trying to crisp them… not cremate them.
Let them cool and check the crunch.
Missouri Extension specifically recommends this method for stale crackers, cereals and snacks, provided they have no off flavors.
How cool is THAT?
Or Don’t Revive Them At All
If the crackers aren’t particularly exciting on their own anymore, crush them.
Now you have:
- Casserole topping
- Macaroni and cheese topping
- Crumbs for veggie patties
- A crunchy topping for baked vegetables
- Crumbs for a savory crust
- Cracker crumbs for breading
- Pie or dessert crust crumbs, depending on the cracker
Pop them into a food processor or place them in a bag and give them a good whack with a rolling pin.
Very therapeutic. Dinner AND stress relief. You’re welcome.
When To Toss Them
Stale can be fixed.
Rancid cannot.
If crackers smell or taste unpleasant, show signs of mold or have been contaminated… into the garbage they go.
Before You Throw It Away… Take One More Look
I think this is one of those little habits we have lost along the way.
Our Moms and Grandmas didn’t necessarily have magical kitchens or secret recipes.
They simply looked at food differently.
An apple didn’t have to be beautiful to become applesauce.
A dry tortilla didn’t have to stay a tortilla.
Soft fruit could become tomorrow morning’s breakfast.
And apparently even a stale cracker could get a second chance!
I am certainly not suggesting that we start keeping questionable food around in the name of saving fifty cents. Absolutely not.
But maybe before something goes into the garbage, we can ask ourselves one tiny question:
Is this actually spoiled… or does it simply need a new job?
Because sometimes there is a big difference.
And when grocery money seems to disappear faster every single week… I will happily take every little kitchen trick I can get.
Grandma would probably approve.
And then she would remind us to shut the refrigerator door. Some things never change.



Keep the Inspiration Going
Explore More Crafts, Cozy Roundups and Creative Ideas
There is always something new to discover here at The Cottage Market! Browse easy crafts, clever DIY projects, inspiring makeovers, cozy decorating ideas, helpful tips, delicious vegetarian recipes and all of our newest weekly roundups.
Browse DIY and Craft Ideas Explore All RoundupsVisit Your Favorite Cottage Market Corners
Do Not Miss the Freebies
More Than 4,000 Free Printables Are Waiting for You!
Print a little happiness for your home! Explore free wall art, planners, recipe cards, banners, seasonal favorites, digital papers and so much more. New printables are added regularly, so there is always something lovely waiting to be discovered.
 Browse All Free Printables
See Today’s Free Printable
Browse All Free Printables
See Today’s Free Printable
New crafts, roundups, makeovers, recipes, helpful ideas and free printables are added every week… so be sure to come back and visit again soon!


Absolutely loved the grandma tips and thoroughly enjoyed your writing style. Fabulous ideas for minimizing waste, just because of a few imperfections.Thank you!!!
So happy you enjoyed Elissa!!! If there are other things you would like to see covered… drop a comment any time ok! BTW… I love imperfections :). Have a wonderful weekend… Hugs!